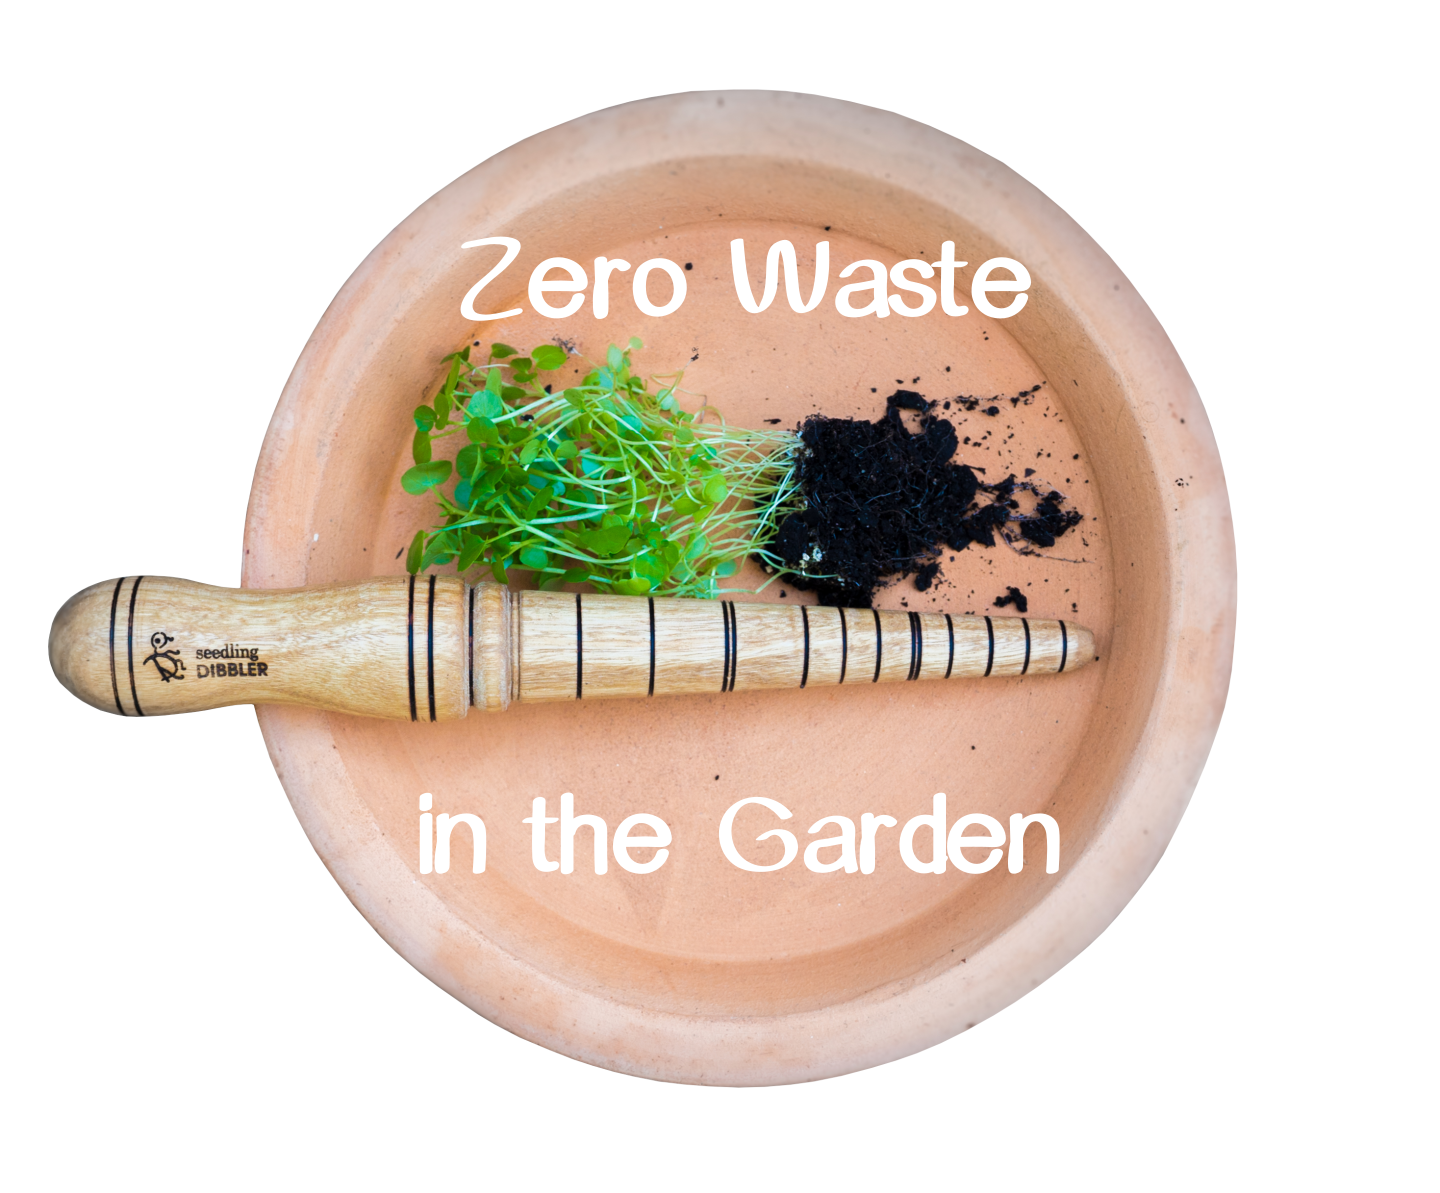

Being a Zero Waster is all about connecting with our actions to live an authentic healthful life, in harmony with nature.
That’s why gardening is such a biggy for the Zero Waster, we love knowing what we are eating. And while transplanting seedlings in our garden is actually often very traumatic for our plants, with a bit of care they will bounce right back bigger and healthier than before.
In our garden we have a running joke where we give each plant a silly name, something like “Wilty”, for unfortunate plants which shrivel up for a few days or weeks after being transplanted.
The following is a short guide for using a seedling dibbler.
STEP 1
Prepare the soil in your garden bed making sure that it will be suitable for your seedling.
STEP 2
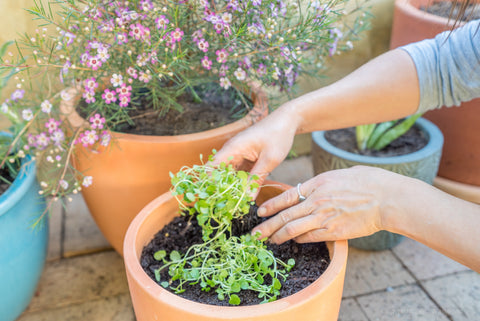
Prepare your seedling paying attention to open any bound-up roots.
STEP 3
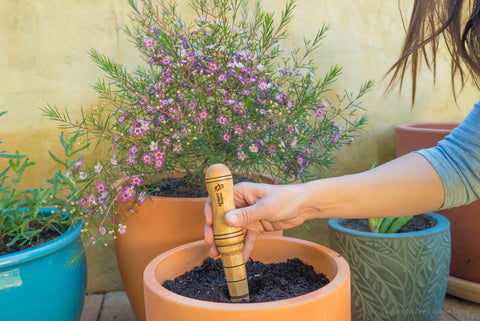
Black rings around the dibbler are provided as a gauge, they are called “depth rings”. By offering the seedling up alongside the dibbler, the corresponding depth of the roots can be seen. The hole that we create for the seedling should be a few depth rings deeper than the seedling roots. This will create the perfect hole to accommodate the seedling.
STEP 4
Push the dibbler down into the soil bed to the desired depth, as gauged by placing the seedling alongside the black rings on the dibbler.
STEP 5
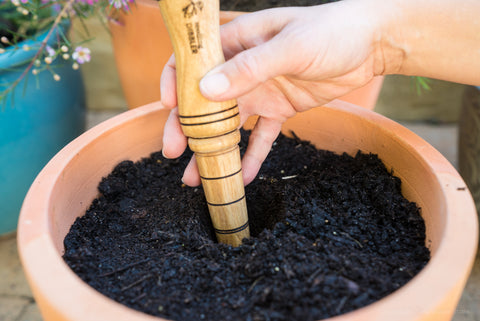
The dibbler can be used to widen a hole by working the dibbler in a circular motion. Plant the seedling and then firm the soil in around the base of the seedling.
STEP 6
Handle the seedling with care as you put it into the hole. Use one hand to hold the seedling in position so that the base of the stem is level with the surrounding soil. Use your free hand (or get a friend) to press firmly downwards on the soil surrounding the seedling which will squash the soil inwards surrounding the new seedling.
STEP 7
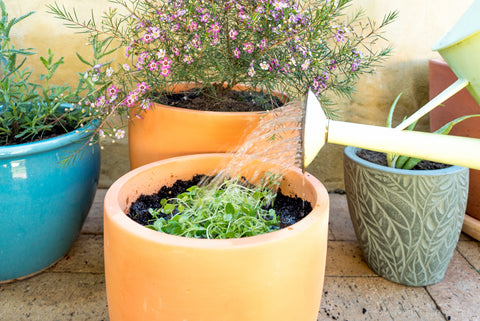
After transplanting your seedling it is normally best to water the garden bed. This helps the plant to consolidate the soil around the roots and to keep the plant moist.
Care & Maintenance tips for dibblers (and any Wooden garden tools)
To show your dibbler some love, wash it with a brush and a little warm soapy water. Then dry the dibbler and reapply some oil. Leave the oil to soak in for a few hours. Most plant or nut oils are fine and whatever you have on hand will do.